What is Home Assistant?
Home Assistant is free and open-source software for home automation designed to be a central control system for smart home devices with a focus on local control and privacy. It can be accessed through a web-based user interface by using companion apps for Android and iOS, or by voice commands via a supported virtual assistant such as Google Assistant or Amazon Alexa.
After the Home Assistant software application is installed as a computer appliance, it will act as a central control system for home automation, commonly referred to as a smart home hub, that has the purpose of controlling IoT connectivity technology devices, software, applications and services which are supported by modular integration components, including native integration components for wireless communication protocols such as Bluetooth, Zigbee, and Z-Wave (used to create local personal area networks with small low-power digital radios). Home Assistant also supports controlling open and proprietary ecosystems if they provide public access via an Open API or MQTT for third-party integrations over the local area network or the Internet.
Information from all devices and their attributes (entities) that the Home Assistant software application sees can be used and controlled from within scripts trigger automation using scheduling and “blueprint” subroutines, e.g. for controlling lighting, climate, entertainment systems and home appliances.
Compare Installation Methods
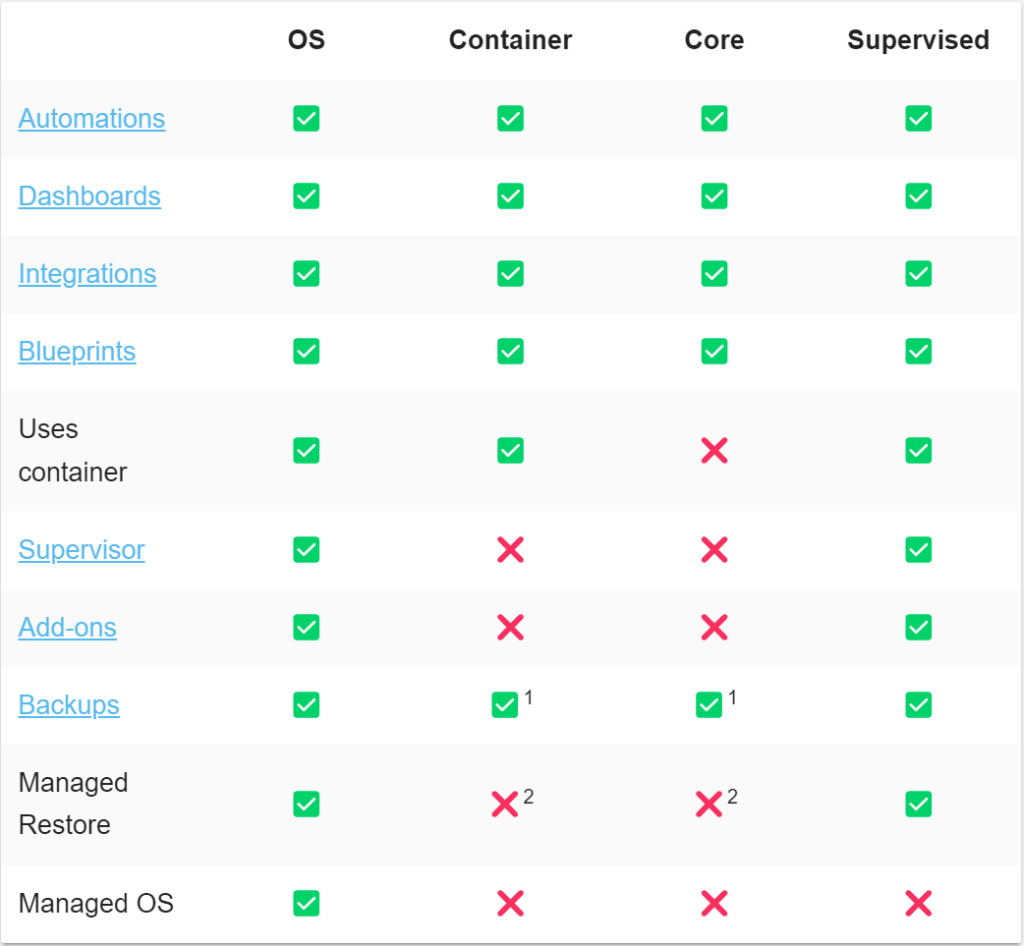
1: Backups for Home Assistant Core and Home Assistant Container is provided by the backup integration. 2: Backups for Home Assistant Core and Home Assistant Container are either a tool to migrate to HAOS or a completely manual restore of the backup.
How to Install Home Assistant OS on Raspberry Pi 4 over the Network?
This guide shows how to install the Home Assistant Operating system onto your Raspberry Pi using Raspberry Pi Imager.
https://www.raspberrypi.com/software/
If Raspberry Pi Imager is not supported by your platform, you can use Balena Etcher instead.
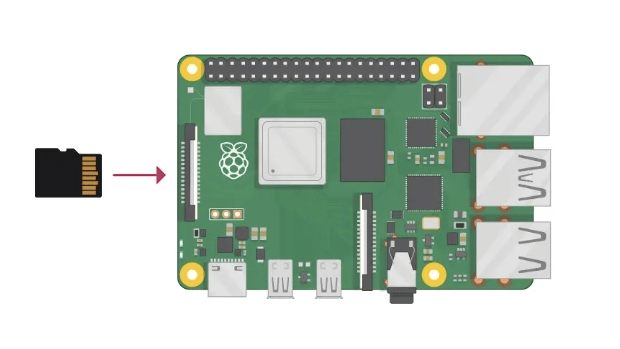
Step1: Write the image to your SD card.
1. Download and install the Raspberry Pi Imager on your computer as described under https://www.raspberrypi.com/software/.
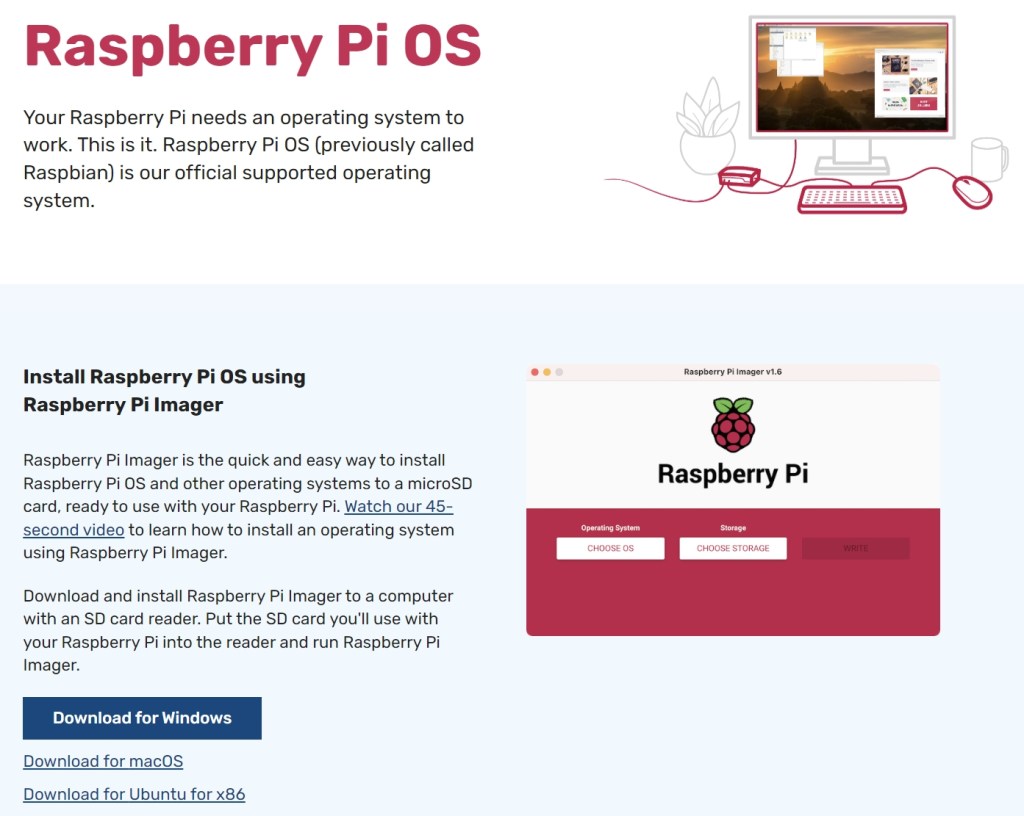
2. Open the Raspberry Pi Imager.
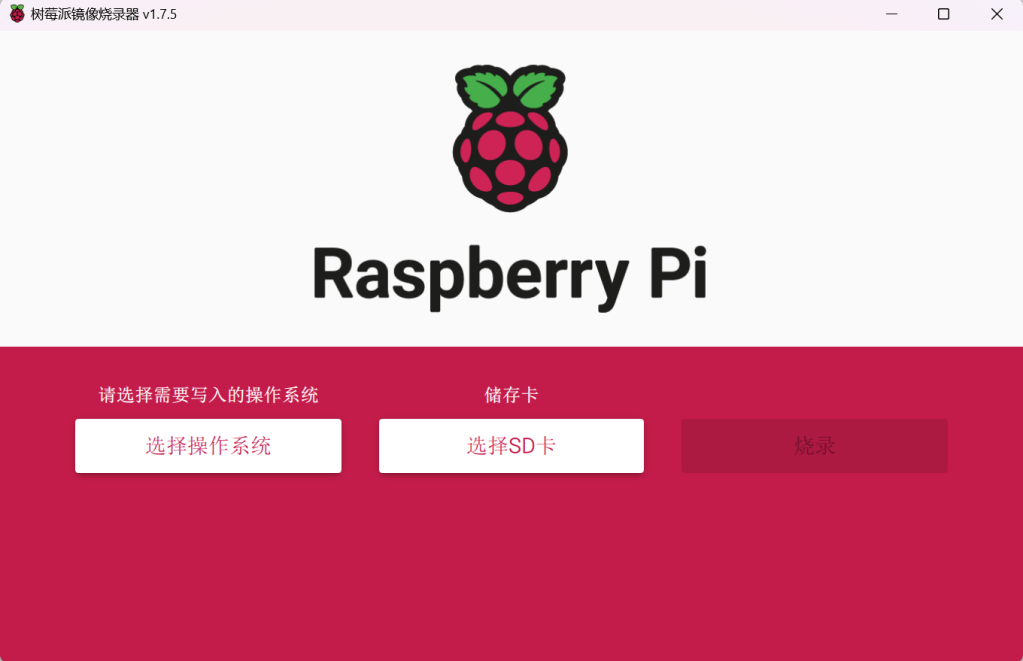
3. Choose the operating system:
Select Choose OS.
Select Other specific-purpose OS > Home assistants and home automation > Home Assistant.
Choose the Home Assistant OS that matches your hardware (RPi 3 or RPi 4).
4. Choose the storage:
Insert the SD card into the computer. Note: the contents of the card will be overwritten.
Select your SD card.
5. Write the installer onto the SD card:
To start the process, select Write.
Wait for the Home Assistant OS to be written to the SD card.
6.Eject the SD card.
Step2: Start up your Raspberry Pi.
1. Insert the SD card into your Raspberry Pi.
2. Plug in an Ethernet cable that is connected to the network.
3. Connect the power supply to start up the device.
4. In the browser of your desktop system, within a few minutes you will be able to reach your new Home Assistant at homeassistant.local:8123.
How to install HACS in Home Assistant?
Home Assistant Community Store, or HACS, is a powerful integration for Home Assistant that allows users to download and install custom add-ons, integrations, themes, elements, etc.
1. In your Home Assistant Server, navigate to Settings > Add-Ons.
2. Click the ADD-ON STORE button and then search for the Terminal & SSH add-on.
3. Click on the Terminal & SSH add-on in the search results and then click Install.
4. After the installation, click Start and then click OPEN WEB UI. This will open a terminal window.
5. In the terminal window, enter the following commands:
wget -O - https://get.hacs.xyz | bash -6. After a successful installation, enter the following commands in the terminal window to reboot the Home Assistant Server:
reboot7. After the reboot, go to Settings > Devices & Services and click the ADD INTEGRATION button.
8. Search for HACS and click on it.
9. Check all items and click Submit. You will see a URL and a code.
10. Click on the displayed URL and sign in to your GitHub account to authorize. If you don’t have a GitHub account, sign up and then authorize.
11. In the next screen, enter the code that was displayed to you in the Home Assistant server.
12. Click Authorize HACS.
13. Back on your Home Assistant server, click Submit.
14. If everything goes well, you will see the Success screen. Choose the room and click Finish.
15. In the Settings > Devices & Services dashboard, you will see HACS.
How to integrate Tuya devices into Home Assistant?
Step1: Add Tuya devices into Tuya Smart App.
You can try using Smart Life App too but from my personal experience, I can’t add the device into the Smart Life App. After switched to the Tuya Smart App, it has been done easily.
Don’t forget to link your account in Smart Life App or Tuya Smart App into the Tuya IoT Cloud project. Your device must be listed there in order to proceed the next steps.
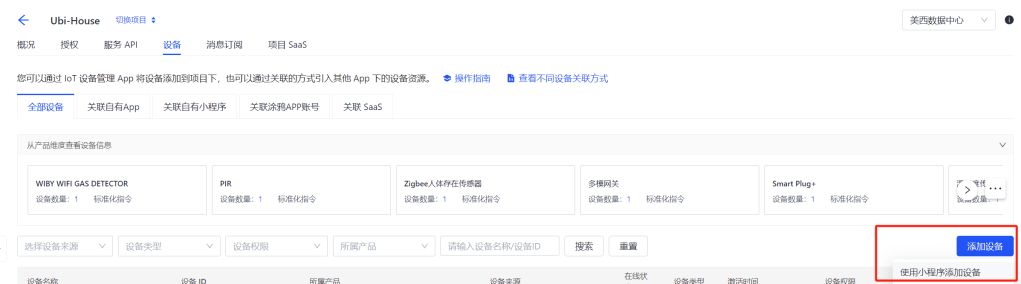
Go to the Tuya IoT Cloud project page and verify if the device is added into your project. You should see something like below image if you have done everything successfully.
Please copy the Device ID from this step, you’ll need to use this string in the next step.
Step2: Add the Local Tuya custom component into Home Assistant.

Local Tuya is a Home Assistant custom Integration for local handling of Tuya devices. This custom integration updates device status via pushing updates instead of polling, so status updates are fast (even when manually operated). The integration also supports the Tuya IoT Cloud APIs, for the retrieval of info and of the local keys of the devices.
Installing the Local Tuya custom component can be done via HACS.
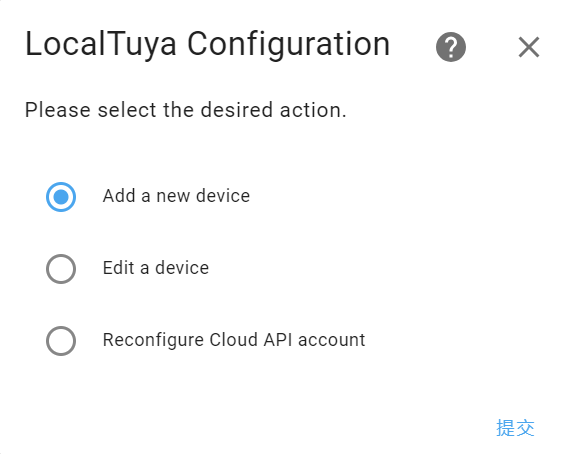
Step3: Add the new Integration via Local Tuya.
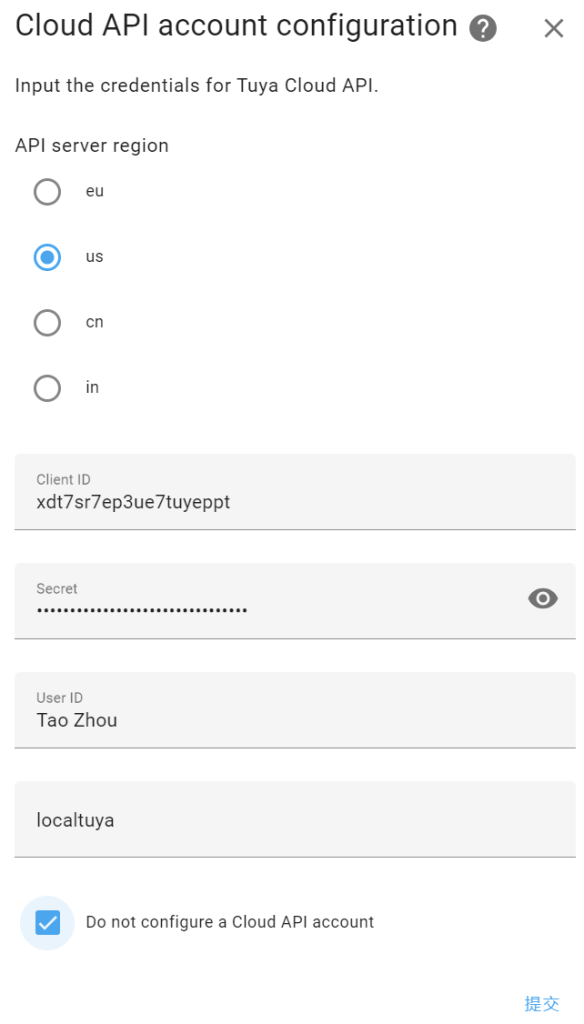
Go to the Settings | Devices & Services and click the Add Integration
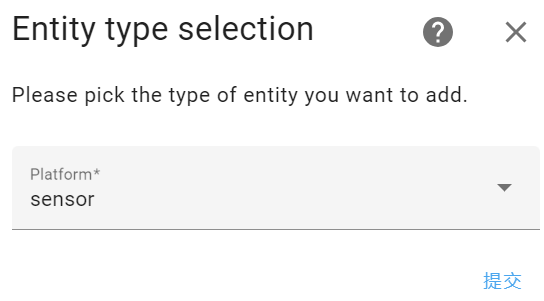
Search for Local Tuya and enter the required information into the form.


Step4: Get your Tuya Device Local Key.
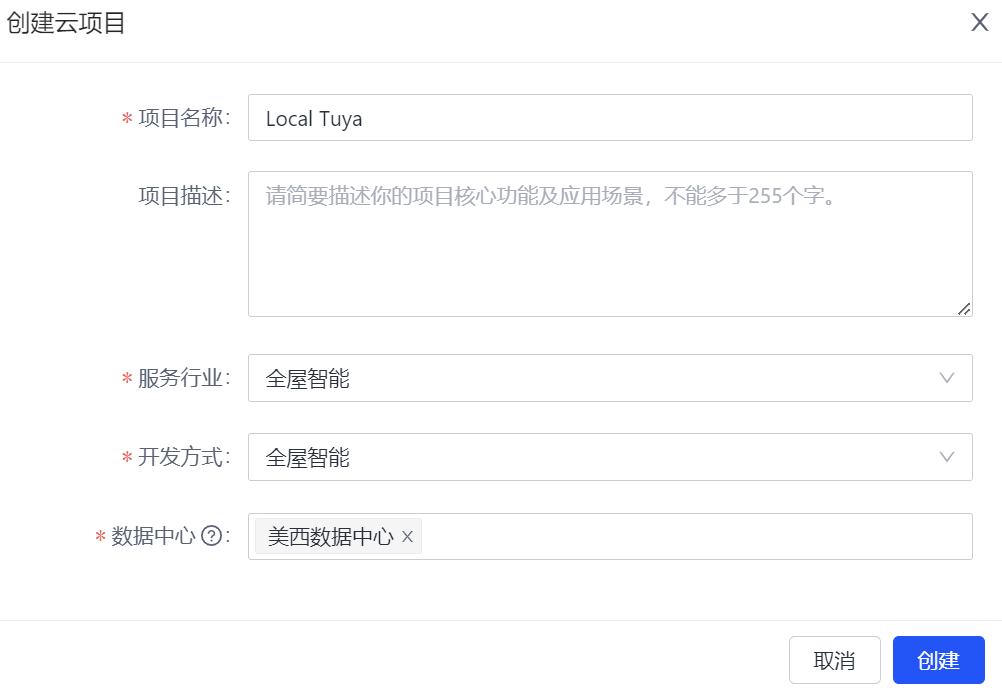
1. Go to https://iot.tuya.com/ and create a project on tab cloud.
2. Link your account in Smart Life App or Tuya Smart App into the Tuya IoT Cloud project.
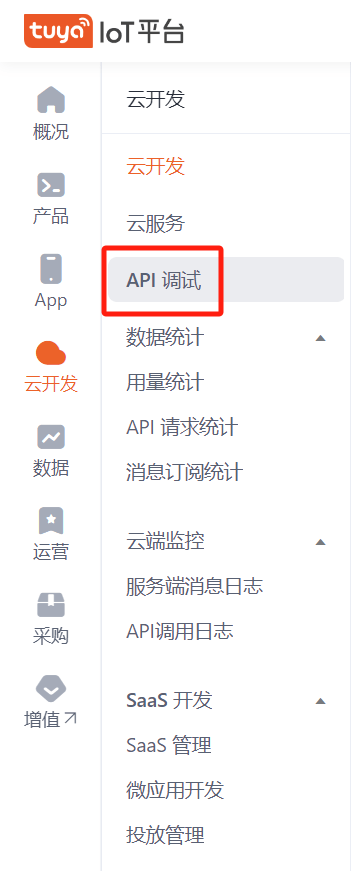
3. Go to API explorer menu.
4. Choose smart home management system.

5. Choose device management.
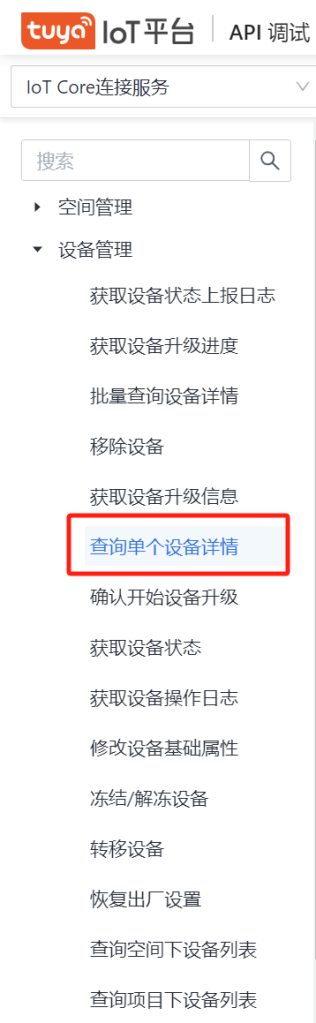
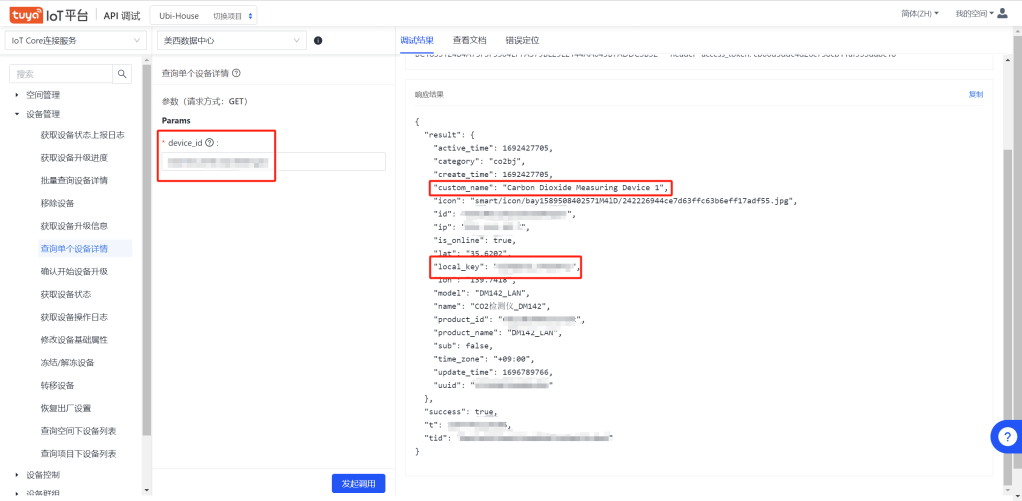
6. Insert the Device ID and submit request.
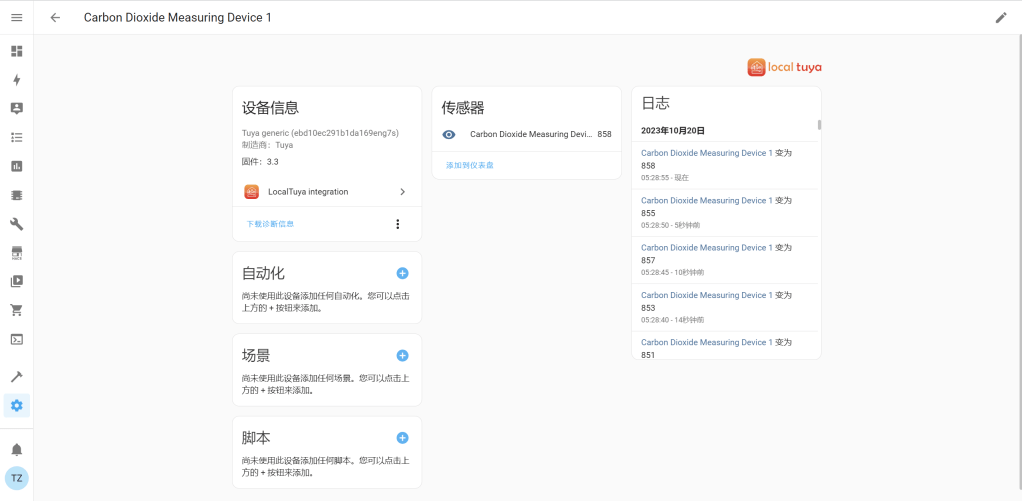
Step5: Continue with the subsequent sections.

The successful look is shown below:
ESPHome
Web写入
